Making Ghee At Home? 8 Tips To Prepare Perfectly Caramelized Clarified Butter
Ghee, or clarified butter, is an essential ingredient in Indian cuisine. Known for its rich, nutty flavor and numerous health benefits, ghee is used in a variety of dishes, from traditional sweets to savory curries.
While it is readily available in stores, making ghee at home ensures the freshest quality and allows you to control the caramelization process to achieve the perfect flavor and aroma.
In this blog post, we will guide you through the process of making ghee at home and share eight tips to help you prepare perfectly caramelized clarified butter.
What is Ghee?
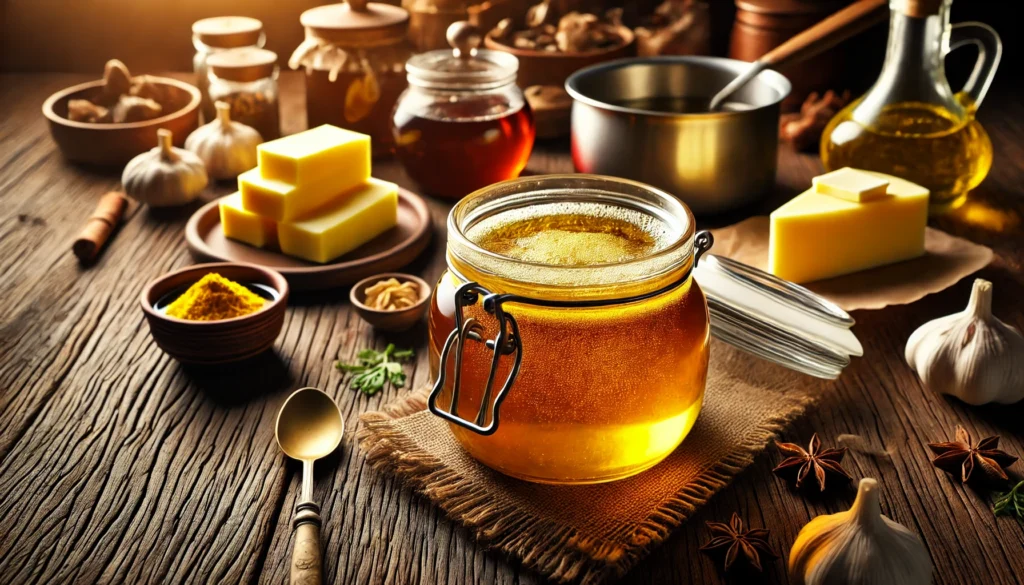
Ghee is a type of clarified butter that has been cooked to remove water content and milk solids, leaving behind pure butterfat. This process gives ghee its distinctive flavor and a higher smoke point compared to regular butter, making it ideal for cooking at high temperatures.
Ghee is also known for its long shelf life and is often used in Ayurvedic medicine for its therapeutic properties.
1. Choosing the Right Butter
The quality of your ghee depends largely on the quality of the butter you use. For the best results, use unsalted, high-fat butter. Grass-fed butter is an excellent choice as it tends to have a richer flavor and higher nutritional value.
Tip: Look for organic or grass-fed butter with a high fat content (at least 80%). This will yield a richer and more flavorful ghee.
2. Slow and Steady Cooking
Patience is key when making ghee. The process involves slowly simmering the butter to allow the water to evaporate and the milk solids to separate and caramelize. Cooking the butter over low to medium heat ensures that it does not burn and develops a deep, nutty flavor.
Tip: Use a heavy-bottomed saucepan to distribute heat evenly and prevent the butter from burning. Stir occasionally to ensure even cooking.
3. Skimming the Foam
As the butter melts and starts to simmer, you will notice a layer of foam forming on the surface. This foam is composed of water and milk solids. Skimming off the foam periodically helps in achieving a clearer ghee and prevents the milk solids from settling at the bottom and burning.
Tip: Use a spoon or a fine mesh skimmer to gently remove the foam from the surface. Be careful not to disturb the butter too much to avoid mixing the milk solids back into the liquid.
4. Watching for the Perfect Caramelization
The key to perfect ghee lies in the caramelization of the milk solids. As the butter simmers, the milk solids will start to sink to the bottom of the pan and turn golden brown. This is when ghee develops its characteristic nutty flavor.
Tip: Keep a close eye on the color of the milk solids. Once they turn a light golden brown and the ghee emits a rich, nutty aroma, it’s time to remove it from the heat. Overcooking can lead to burnt milk solids and a bitter taste.
5. Straining the Ghee
Once the ghee has reached the desired level of caramelization, it’s important to strain it to remove the milk solids. This ensures a smooth, clear ghee with a longer shelf life.
Tip: Use a fine mesh strainer or cheesecloth to strain the ghee into a clean, dry container. Ensure that the container is heatproof as the ghee will be very hot.
6. Cooling and Storing
Allow the strained ghee to cool completely before sealing the container. Proper storage is crucial to maintaining the quality and shelf life of your homemade ghee.
Tip: Store the cooled ghee in an airtight container at room temperature or in the refrigerator. Ghee can last for several months when stored properly.
7. Enhancing the Flavor
While traditional ghee is made simply with butter, you can infuse your ghee with various flavors to enhance its taste and aroma. Common additions include curry leaves, garlic, and herbs like rosemary or thyme.
Tip: To infuse ghee, add the flavoring ingredients to the butter at the beginning of the cooking process. Remove the ingredients once they start to brown to prevent them from burning.
8. Using Ghee in Cooking
Ghee is incredibly versatile and can be used in a variety of dishes. Its high smoke point makes it ideal for frying, sautéing, and roasting. It also adds a rich flavor to baked goods and can be drizzled over cooked vegetables or used in place of butter on bread.
Tip: Experiment with using ghee in different recipes. Try sautéing vegetables in ghee for a nutty flavor, or use it to make traditional Indian dishes like dal or biryani.
Step-by-Step Recipe for Making Ghee at Home
Ingredients:
- Unsalted butter: 1 pound (organic or grass-fed preferred)
Instructions:
- Melt the Butter:
- Place the butter in a heavy-bottomed saucepan over low to medium heat.
- Allow the butter to melt completely, stirring occasionally.
- Simmer the Butter:
- Once the butter has melted, reduce the heat to low and let it simmer.
- As the butter simmers, it will start to foam. Skim off the foam with a spoon or skimmer.
- Caramelize the Milk Solids:
- Continue simmering the butter until the milk solids sink to the bottom and turn golden brown.
- The ghee will become clear and emit a rich, nutty aroma.
- Strain the Ghee:
- Remove the saucepan from heat and let the ghee cool slightly.
- Strain the ghee through a fine mesh strainer or cheesecloth into a clean, dry container.
- Cool and Store:
- Allow the strained ghee to cool completely before sealing the container.
- Store the ghee at room temperature or in the refrigerator.
Health Benefits of Ghee
Ghee is not only delicious but also offers several health benefits:
- Rich in Nutrients: Ghee is a good source of fat-soluble vitamins like A, D, E, and K.
- Lactose-Free: The clarifying process removes lactose and casein, making ghee suitable for those with lactose intolerance.
- Boosts Digestion: Ghee is known to stimulate digestive enzymes, aiding in better digestion.
- Promotes Heart Health: Ghee contains healthy fats that can help in maintaining good cholesterol levels.
- Anti-Inflammatory Properties: The butyrate in ghee has anti-inflammatory properties and can promote gut health.
Conclusion
Making ghee at home is a rewarding process that allows you to enjoy fresh, high-quality clarified butter with a rich, nutty flavor. By following these eight tips—choosing the right butter, cooking slowly, skimming the foam, watching for caramelization, straining properly, cooling and storing correctly, enhancing flavor, and using it in various dishes—you can master the art of making perfectly caramelized ghee. Enjoy the health benefits and delicious taste of homemade ghee in your daily cooking.