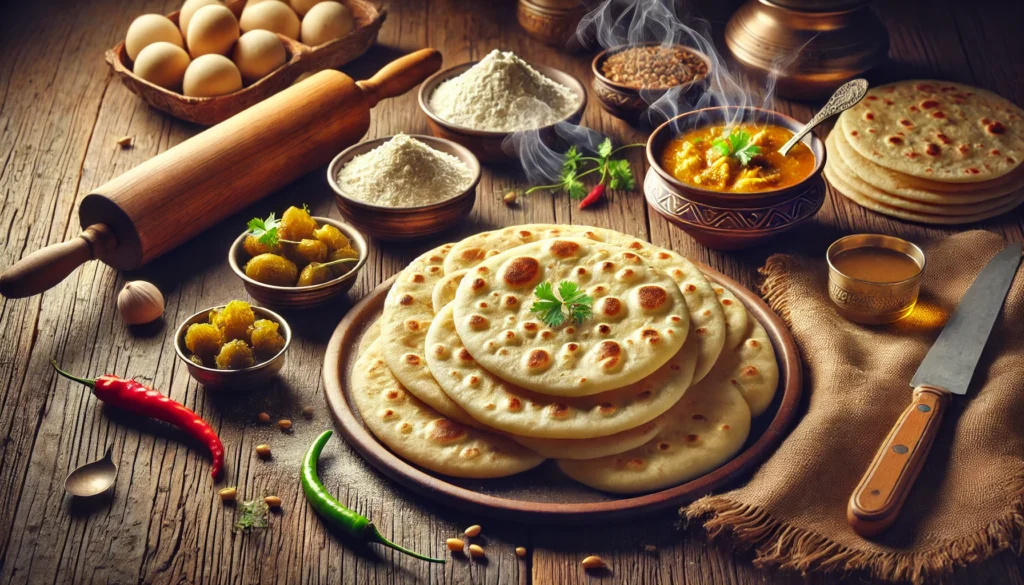
Tips to Make Perfect Puffed Round Chapatis
Chapati, also known as roti, is a staple in many Indian households. These unleavened flatbreads are soft, pliable, and perfect for scooping up delicious curries and vegetables.
While making chapatis might seem simple, achieving the perfect puffed, round, and soft chapati requires a bit of practice and some essential tips.
In this blog post, we will explore everything you need to know to make perfect chapatis at home.
Ingredients
To make chapatis, you will need the following basic ingredients:
- Whole wheat flour (atta): 2 cups
- Water: Approximately 3/4 cup (adjust as needed)
- Salt: 1/2 teaspoon (optional)
- Oil or ghee: 1 teaspoon (optional, for softness)
Tips for Making Perfect Puffed Round Chapatis
1. Choosing the Right Flour
The key to making perfect chapatis starts with selecting the right flour. Whole wheat flour, also known as atta, is traditionally used for making chapatis. This flour is finely milled and has a high gluten content, which helps in forming a soft and pliable dough.
Tip: Look for fresh, high-quality whole wheat flour. Some brands add extra gluten or other additives, so it’s best to choose a flour that is 100% whole wheat.
2. Kneading the Dough
Kneading is a crucial step in making chapatis. The dough needs to be smooth, soft, and pliable to ensure that the chapatis puff up and remain soft after cooking.
Instructions:
- In a large mixing bowl, combine the whole wheat flour and salt.
- Gradually add water, a little at a time, while mixing with your hand or a spoon. Continue adding water until the dough starts to come together.
- Knead the dough for about 8-10 minutes until it becomes smooth and elastic. If the dough is too sticky, add a little more flour. If it’s too dry, add a few drops of water.
- Once the dough is well-kneaded, cover it with a damp cloth or plastic wrap and let it rest for at least 20-30 minutes. Resting the dough helps in gluten formation, making it easier to roll out and cook.
Tip: Adding a teaspoon of oil or ghee while kneading can make the chapatis softer and prevent them from drying out.
3. Rolling the Chapatis
Rolling the dough into even, round discs is an art that requires practice. The goal is to roll the dough evenly so that the chapatis cook uniformly and puff up perfectly.
Instructions:
- Divide the dough into small, equal-sized balls (about the size of a golf ball).
- Lightly dust a rolling surface and rolling pin with flour.
- Flatten a dough ball slightly and place it on the floured surface.
- Using a rolling pin, roll the dough evenly from the center outwards, turning the dough slightly after each roll to maintain a round shape. Aim for a thin, even disc about 6-8 inches in diameter.
- Dust off any excess flour from the rolled chapati before cooking.
Tip: Avoid pressing too hard with the rolling pin, as this can create uneven thickness and prevent the chapati from puffing up.
4. Cooking the Chapatis
Cooking chapatis requires a hot, even heat to ensure they puff up and cook properly. A cast-iron tawa (griddle) is traditionally used, but you can also use a non-stick skillet.
Instructions:
- Preheat the tawa or skillet over medium-high heat.
- Place the rolled chapati on the hot tawa. Cook for about 10-15 seconds until you see bubbles forming on the surface.
- Flip the chapati using tongs or a spatula. Cook the other side for another 10-15 seconds.
- Flip the chapati again and gently press the edges with a clean cloth or a spatula. This will help the chapati puff up. Cook for another 10-15 seconds.
- Once the chapati is puffed and cooked, remove it from the tawa and place it in a covered container to keep it warm and soft.
Tip: If the chapati does not puff up, you can use a clean cloth to press gently on the edges or place it directly over a gas flame for a few seconds until it puffs.
5. Keeping the Chapatis Soft
The key to soft chapatis is to keep them warm and moist after cooking. Storing them properly will ensure they remain soft and pliable.
Instructions:
- Immediately after cooking, place the chapati in a container lined with a clean kitchen towel. Cover the chapati with the towel and close the lid.
- Repeat the process for all the chapatis, stacking them on top of each other and keeping them covered.
- Serve the chapatis warm with your favorite curry, dal, or vegetable dish.
Tip: Avoid stacking hot chapatis directly on each other without a cloth in between, as the steam can make them soggy.
Common Mistakes to Avoid
- Too Much Flour: Using too much flour while rolling can make the chapatis dry and hard. Use just enough flour to prevent sticking.
- Over-Kneading: Over-kneading the dough can make it tough. Knead until just smooth and elastic.
- High Heat: Cooking on very high heat can burn the chapatis without cooking them through. Medium-high heat is ideal.
- Under-Resting: Not resting the dough long enough can result in stiff chapatis. Always rest the dough for at least 20-30 minutes.
Variations and Enhancements
While traditional chapatis are plain, you can add various ingredients to enhance the flavor and nutrition.
- Herbs and Spices: Add finely chopped coriander, mint leaves, or spices like cumin, carom seeds, or ajwain to the dough.
- Multigrain Flour: Mix whole wheat flour with other flours like millet, chickpea, or barley for added nutrition.
- Stuffed Chapatis: Stuff the dough with fillings like mashed potatoes, paneer, or greens before rolling them out.
Conclusion
Making perfect puffed round chapatis is an art that comes with practice and patience. By following these tips—choosing the right flour, kneading the dough properly, rolling evenly, cooking on the right heat, and storing them correctly—you can master the technique and enjoy soft, fluffy chapatis every time. Whether you’re a seasoned cook or a beginner, these tips will help you create delicious chapatis that are sure to impress. Happy cooking!